October 6, 2014
I do not have a picture of these cookies, but trust me they are beautiful and taste ever so Yummy!
September 22, 2014

August 12, 2014


July 14, 2014


Organic Flour!
I wanted to update some of you about me using the Organic Flour and my Gluten Allergy. I have baked a cake and some brownies with it and I have noticed in a change. I do not become itchy, so I think it may have been the Non - Organic Flour that I was allergic too. I will keep you all updated to my findings as I play around with this idea. The Flour I have been using is made by the Gold Medal Flour company and was not as expensive as most Organic Flours. I didn't want to buy a whole bunch if it wasn't going to work.
June 16, 2014
I have written in the past about me finding out about my Gluten allergy, I have some information that I had found out just recently. I was talking to a woman about all of this and she told me that she had the same problem, but she had gone to Organic flour and found out she was not allergic to that type of flour. She explained to me about how over the years the DNA of wheat has been altered and some people have become allergic to this wheat. So I was on the hunt for Organic flour, and I found it this morning! I am going to this week, bake with it and see if I get sick or get itchy. I will post later on what I found out with my own little home experiment. I am crossing my fingers this works, because it has been so hard to stay away from the things I love, baked goods!
Some things we have done in the past.
I do not have a picture of these cookies, but trust me they are beautiful and taste ever so Yummy!
Pumpkin Chocolate Chip Cookies
This recipe usually makes around 3 dozen depending on how big you like your cookies. Also the Cookie are very soft and moist.
You will need
2 1/2 cups of all purpose flour ( I use Organic).
1 teaspoon baking powder
1 teaspoon baking soda
1/2 teaspoon salt
1 teaspoon cinnamon
1/2 teaspoon nutmeg
1/2 cup of butter
1 1/2 cups of sugar
1 cup of fresh pumpkin ( you can use canned)
1 egg
1 teaspoon vanilla
Add Semi Sweet Chocolate chips, as many as you want for taste. I use a whole bag!
Mix all you dry ingredients together in a bowl or mixer. You will then add all your wet ingredients to the dry. Mix it well. I then add my chocolate chips to the mixture last. Grease a cookie sheet and dump spoonfuls of cookie batter about 2 inches apart from each other on your cookie sheet,. These cookies will get big. Set your oven to 350F and bake from 15 to 20 min. If you love pumpkin you will love these cookies. I do not put these cookies on a cookie rack( it seems to dry the bottoms to much and I like the moist almost like Molasses cookie texture), so I let my cookies cool on my kitchen table. For what ever reason they stay very moist, so I kept doing it that way since I started making them. Hope you enjoy them.
September 22, 2014
We made Grape Jam! I forgot how much I loved doing this. Last year we didn't get grapes due to a frost that came during the grapes flowering. This year we had the grapes, but I was running out of time to can them. I will share the recipe that we use for grape jam. It takes longer than making jelly but I like the texture of jam a lot better than jelly.
Grape Jam
You will need:
2 quarts of grapes
4 1/2 cups of sugar
1 box of low sugar pectin or 3 tablespoons of low sugar pectin
That's it!
I start by soaking my grapes to let all the bugs float to the top. There are always bugs tangled up in the grapes after you pick them, so to not have that surprise when you reach into the bowl, I float the little guys out!
You will then pop the grape out of the flesh into a bowl, put the skins in a pan that has about a 1/2 cup of water in it. You do this until you have done about 2 quarts of grapes. I usually have a quart jar in front of me that I fill as I work.
You will then put the grapes on a burner on low to med. temp. The temp depends on if you want to stay in the kitchen while the grapes cook a little. If you are there watching them then use med. heat, because you will need to stir with a wooden spoon so the grapes do not stick to your pan. Now the skins you will put on a burner the same temp and you watch them also being careful to not let the skins stick to the bottom of the pan. When the grapes are soft and you can mash easily with your spoon it is ready for you to put in a sieve or a food mill. You will then remove the seeds from the pulp of the grape by putting it in one of these.
Now this is where I differ from most who do jam, I will put my pulp in the same pan I used to make them soft. I then will take the skin mixture from the other pan and put it through the sieve. To separate the skins from the pretty purple juice it has made. My family hates the skins being in the jam, so I do this, I grew up with the skins being in the jam, so either way it is still very good.
Add the juice or skins pan to the pulp and then add your sugar with pectin. You will now cook the pulp and sugar, waiting for it to boil. You will then cook at a rapid boil stirring the mixture so it does not stick to the bottom of your pan, waiting for the mixture to reach it's gelling point. This can be from 10 to 15 min depending on the amount of sugar and pectin in the mixture. Once it is thick enough you will put the jam in your jars and then process in a boiling water canner for about 15 min. You now have jam! You will need to let the jars cool and leave them alone so it can gel properly.
August 12, 2014
Peach Butter
I finally had started to make peach butter this week. I usually, because I'm so busy, start my Peach Butter in the Crock Pot and then move it to the stove to finish and this is what I did this year!
This is what I used to make my Peach Butter, it's so easy really just need peaches and sugar!
For a 4 quart crock pot I usually do two batches of butter at one time, but for one batch, that makes about 4 pints, you will need about:
18 medium sized peaches
4 cups of sugar
That is it! Very simple. Now for the fun part.
You need to wash and blanch your peaches. Blanch meaning to boil the peaches ( Like tomato preparation, before canning), so you can get the skins off. I am not patient with this and tend to burn my fingers a lot, so be careful. I usually put ice in my water to help cool the peaches so I can get the skins off easier.
This I think is the longest process, but has to be done!
I then add the peaches to my crock pot and add the sugar. If you like spicy Fall flavor stuff, add some spices to it. I always add 1/2 teaspoon of ginger, 1 teaspoon nutmeg and cinnamon, to my Peach Butter.
Now I usually end up putting this on the setting WARM for about two days and then transfer to a pot on the stove( setting the lowest you can go so you do not burn it), to get the rest of the water out of it. I stir the crock pot and then the pot about every two to three hours.
Once it thickens use a ladle and put into hot pint jars or jelly jars, which ever you prefer. Making sure to leave about a 1/4 inch pf head-space. Adjust the two piece cap and then process in a boiling water canner for about 10 mins. As I said pretty easy.
July 14, 2014
Canning Beans
Since so many people are getting back into canning and preserving, I decided to give you some instructions on canning beans! First you need to get you a Pressure Canner. DO NOT USE A WATER BOILER ! Since this is a low acid item you need a pressure canner to ensure you kill everything that could have gotten in your beans while processing. This will be your most expensive purchase for canning. One thing that is helpful, please read the manual. I know a lot of people skim through manuals but for your safety, I would read the first few pages, so you can be familiar with the cooker.
I sterilize my jars the night before. Either boil them in a pan for 10 to 15 min or I put them in my dishwasher on the sterilize selection and then go to bed!
Make sure you wash your beans. I then will snip the ends of the bean with my finger nail and break into 1 inch pieces, which you will place in either a pint jar or a quart jar. We do pints so we don't waste anything when we make them for dinner.
My pressure cooker is big enough to do 8 jars, so I only get 8 done at a time when canning. While I am filling may jars, I have a pan of lids and caps boiling on the stove so they will be sterilized when I am ready for them!
Now if you are like me, I hunt down at the end of the canning season for stuff like this! Usually you can find this at stores for around $1.00 at the end of the season.
You will use 1/2 a teaspoon for pint jars and 1 teaspoon for quart jars of preserving salt, for each jar.
Boil some water, I use my tea kettle, and fill the jars with the boiling water. Fill the jars till there is about 1 inch, of what they call head space this is from the top of the jar down to your beans!
Now when screwing down your tops you need to be careful. If you tighten down, your jars will explode in your canner. I will loosely put them on by tightening the lid then backing off a little, so it barely grabs the jar. It will take you time to figure this method out, but I still do a 1-2-3 count and back the lid back a little, move. It's funny to watch, but that is how I learned so this is how I will teach!
Let the fun begin! I usually will bring some work to the kitchen so I'm not killing time watching the dial on the Pressure Canner. While I am preparing everything, I usually have the pressure canner warming. You will add 3 quarts of water, at least this Presto canner uses that. Other canners may have other specifications, so like I said "Read the manual!" If you start the burner while you are prepping, you will have less time in the kitchen watching a pot boil. Now some people are comfortable with walking away from the canner, I am not! I will now and always, wait for my canner to be done, before leaving it alone in my kitchen.
Now lets look at the top of the canner. You will see 4 objects, one is your pressure dial, the black button in the front, is for when and if you get to much pressure in the can, this will allow it to escape instead of blowing up your kitchen, to the left is a silver tower looking object that releases stem( you will add an object to this to trap the stem), and in the very back is a silver button looking object. Know your pressure cooker! This is a Presto, which is very different then using a Mirro canner that rattles at you.
Now this object is a cap! When you see a steady stream of stem coming from the silver tower looking object you will place this on top of it to trap the stem and then allow pressure to build in the canner.
Your lid will eventually look like this when it is caning your beans, but yes on top of your canner pot!
Okay so now we know the caner, so now you need to load the canner with your jars, making sure they do not touch( sometimes the jars will rattle around and break if too close).
On my Presto canner, there are arrows that show you how to put on your lid and lock it down. Like I said " Read your manuals"!
Should look this on your stove! I turn my burner to high and wait for a steady stream of stem to come out of that silver tower object on the left. When this happens I put the black cap on top of it. Sometimes you will see water come out of the black button, do not be alarmed it is normal.
You now sit and wait for the silver button to pop up. When this happens the pressure in your canner will start to rise.
When the pressure rises I will bump the burner down a little and watch how fast it is rising. If rising to fast then I back down farther, not enough I turn it up a little more. Everyone's burners are different, so you will have to be the judge on how to set your burner.
Now for canning beans you need a steady pressure of 11 pounds.
For pints you want to be at 11 pounds for 20 min.
For quart jars you want to be at 11 pounds for 25 min.
Now this is when I stay in the kitchen and do some knitting or other stuff, because I am watching the pressure dial for changes. After your time is up for either pints or quarts, turn off the burner and remove the canner from the burner. Be careful because that pot will be very hot!
DO NOT TOUCH IT AFTER YOU REMOVE IT FROM THE BURNER!
The canner is not done with what it is doing and is still dangerous, so go do something while it cools. You know when it is safe to remove the lid after these chains of events:
1.) the pressure is down to zero on the dial
2.) the silver button is back down
When these two things are done, then you remove the black cap from the silver tower looking thing and wait for whatever stem is left in there to come out, then crack the lid open!
You will hear your jars still bubbling , this is okay, remove the jars from the canner with the canning tongs and place the jars on a towel to cool.
Make sure you do not put these jars in front of an open window! If they cool to fast sometimes the jars will crack, so just leave them to cool on a counter or table. Soon you will hear the most beautiful sound, the popping of lids as they seal themselves! Now every once in a while you have some jars that do not seal, you can re process or just put in the fridge and enjoy them that week. It is up to you, just do not press that lid down, forcing it to pop. If you force it down, then it has not sealed right and you have air in the jar that causes bacteria to form and some are very deadly. So either eat that jar in the next few days or reprocess that jar!
When the jars are cooled, gently tighten the jar lids and place in a cool dark area for keeping!
Hope this helped a little for beginners of canning!
Organic Flour!
I wanted to update some of you about me using the Organic Flour and my Gluten Allergy. I have baked a cake and some brownies with it and I have noticed in a change. I do not become itchy, so I think it may have been the Non - Organic Flour that I was allergic too. I will keep you all updated to my findings as I play around with this idea. The Flour I have been using is made by the Gold Medal Flour company and was not as expensive as most Organic Flours. I didn't want to buy a whole bunch if it wasn't going to work.
June 16, 2014
I have written in the past about me finding out about my Gluten allergy, I have some information that I had found out just recently. I was talking to a woman about all of this and she told me that she had the same problem, but she had gone to Organic flour and found out she was not allergic to that type of flour. She explained to me about how over the years the DNA of wheat has been altered and some people have become allergic to this wheat. So I was on the hunt for Organic flour, and I found it this morning! I am going to this week, bake with it and see if I get sick or get itchy. I will post later on what I found out with my own little home experiment. I am crossing my fingers this works, because it has been so hard to stay away from the things I love, baked goods!
Some things we have done in the past.

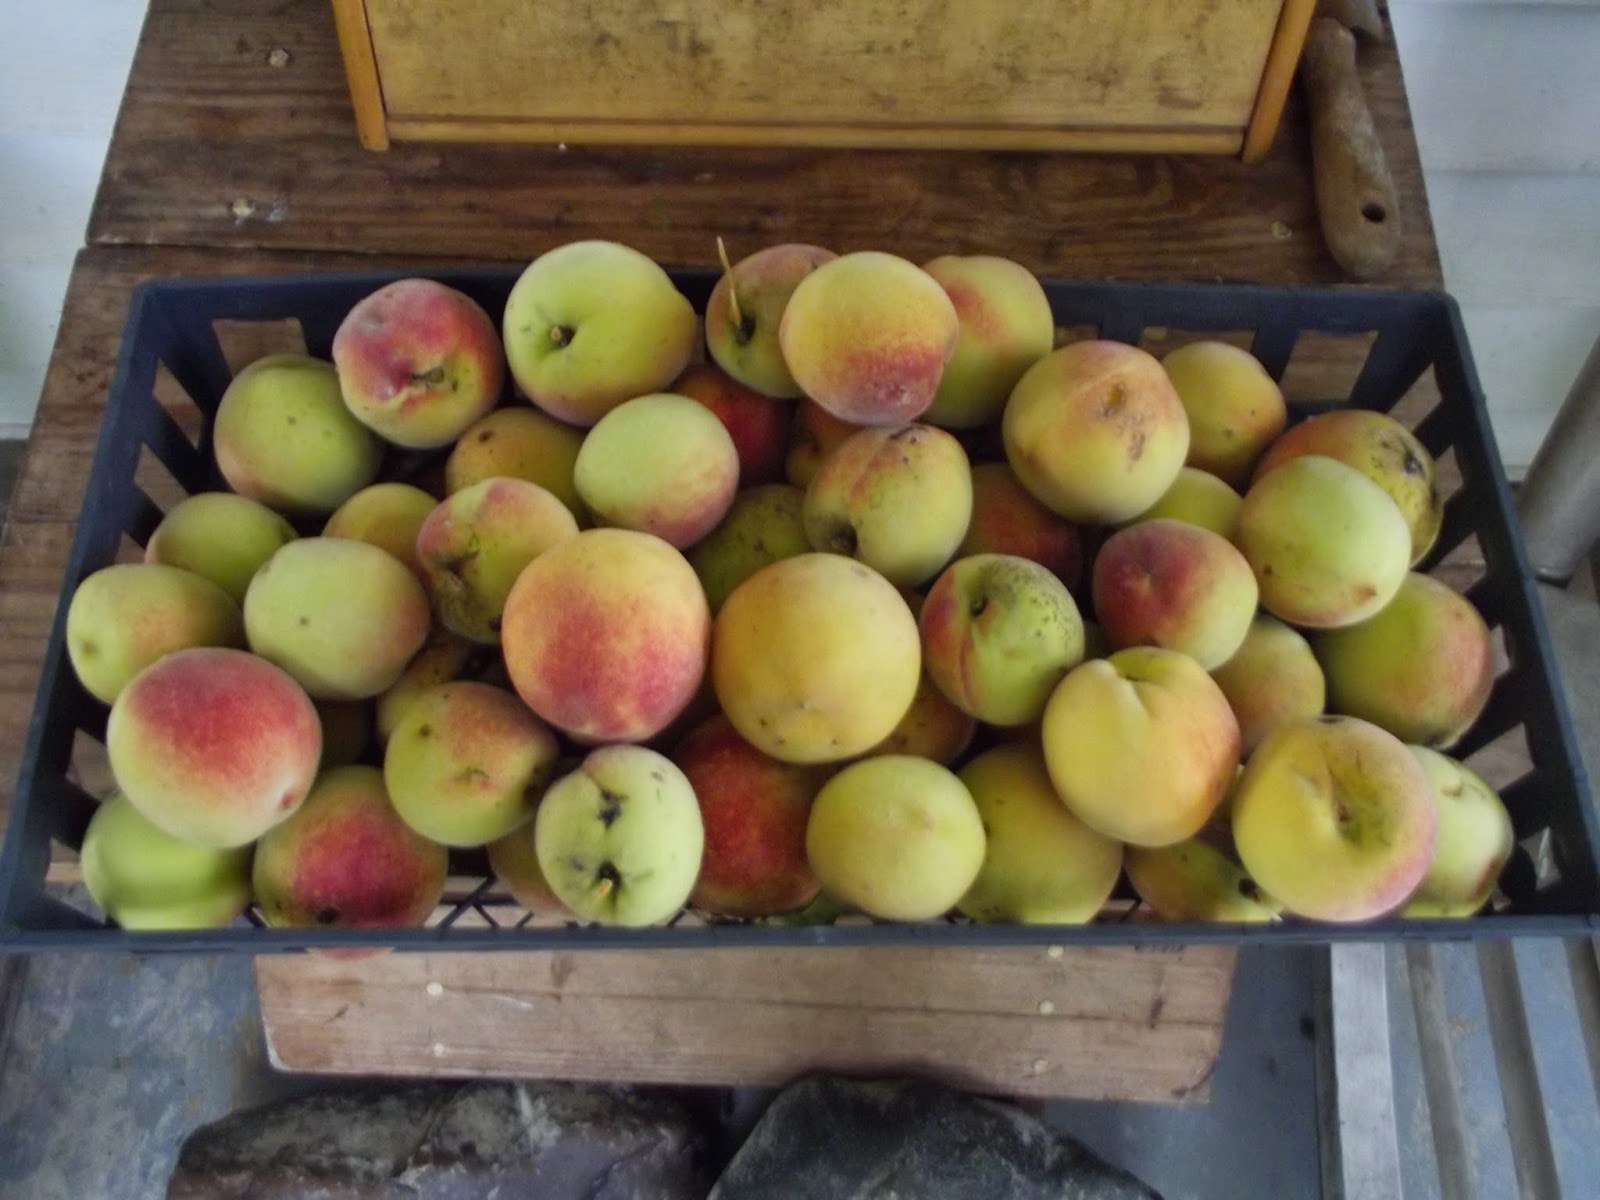
Peaches from our trees

Hot peppers we dried.
FRENCH FRIES
It has been such a rainy cold day today that the kids and I decided we would have a little fun in the kitchen. I have an obsession with old kitchen items and my son Wyatt, found a french fry cutter at one of our local junk shops. I just had to have it!

After Ayla and Wyatt peeled the potatoes, Ayla began washing them all.

Ayla soon found out you need a lot of muscle to get those potatoes through the cutter, so here came muscles....

It took them awhile to get the hang of it but they started cutting potatoes like professionals.

While they cut, I set the oven to 400, so it would be ready for them when they were done.

After they were done we lightly oiled the pan and added Season salt to them. After about 15min in I flipped them over and waited another 15min.

French Fries! Was so much fun on a rainy day.
Gluten Free
Chocolate chip cookie dough balls
2 ripe bananas
1 cup of quick oats
½ cup of chocolate chips
1 heaping spoonful of peanut butter
Mix all of these ingredients until it looks like cookie dough and not banana mixed with something. Nice and smooth, then plop spoonfuls or roll into balls and place on a cookie sheet. Bake at 350 degrees for 15 min.
No comments:
Post a Comment